
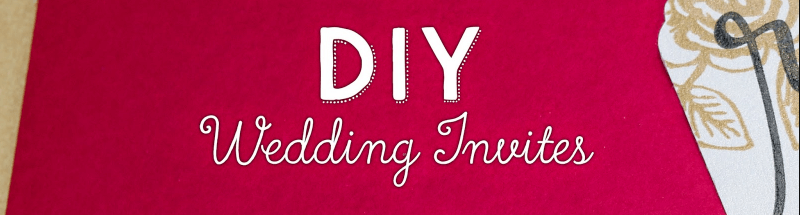
Graphic design is a skill that some people take years to master, but that doesn’t mean that you can’t use simple graphic design skills to create a wedding invitation that you can be proud of. As long as you have a general idea of how they should look, the only challenge then is to transfer that vision into reality. DIY wedding invitations can be fun to create but there are some things you need to know before you get started.
There are 3 main elements of your wedding invitation that you need to become familiar with in order for them to look both gorgeous and professionally done.
Image and Text Elements – Wedding invitations can be either simple or elaborate, and often which one yours is likely to be comes down to the image(s) and text you choose. As the purpose of a wedding invitation is to provide information, the text is the most important element.
 Your first step is to draft the wording you want to print on the invitation. While you need to bear in mind that the more text on your invitation the more space will be taken up, at the same time the essential information must be included. Font size will also impact how much space is used, but again the text needs to be large enough that it is easily read. Choosing a font that is both readable and able to fit neatly within the boundaries of the print area will insure that all the information is included.
Images may be added if space allows for them. One way to include an image that doesn’t impact the text is to have the image as a background. Naturally it will need to be pale enough to allow the text to stand out from it. Another alternative is to place small decorative scrolls or the like on each corner and a classic border to surround the text. Just make sure that if you add a border that you leave sufficient room between it and the text. Whatever you choose as an image, or even if you decide an image is not necessary, the overall appearance of your wedding invitation should be clean, crisp and uncluttered for best results.
Scale – Hand in hand with the amount of text you want on your invitation is the scale. Are you aiming for big and bold or smaller and a little more understated? Typically the names of the two who are getting married are in a larger font than the rest of the text, followed by the date and location of the service in a smaller size font. Any additional information can be written in an even smaller font if desired. How large and bold you want your text may also dictate the size of the invitation itself. If you haven’t already decided on the size of your invitations you have a little more room to experiment with fonts and decorative elements, but if the size of the card has been chosen you will have to work within the boundaries of that size.
Arrangement – Now that you have your wording chosen, you’ve selected the font you want to use and you have decided on an image and/or other decorative elements you are now ready to put all of it together in an arranged layout. This is when you may find that some experimenting with different sizes of font may be required in order to get everything to fit on your invitation. Whether you choose to use a border or not your invitation should have sufficient white space to make the text stand out. Unless you have already decided on a color scheme, try different colors for your text and/or background image. While classic, traditional wedding invitations are typically printed in black, silver or gold text you are not restricted to those colors. If you are having a themed wedding incorporate some element of your theme into your wedding invitation, either with color or the background image. Have fun with this part. Try different ideas until you create the look you were aiming for. DIY wedding invitation designs are as individual as you are!